The afternoon of our workshop (facilitated by permaculture practitioner, husband and wife, James Hardiman and Susan Courtney,) was spent in the garden where we got to work applying some of our learning from the morning.
Observe and Interact
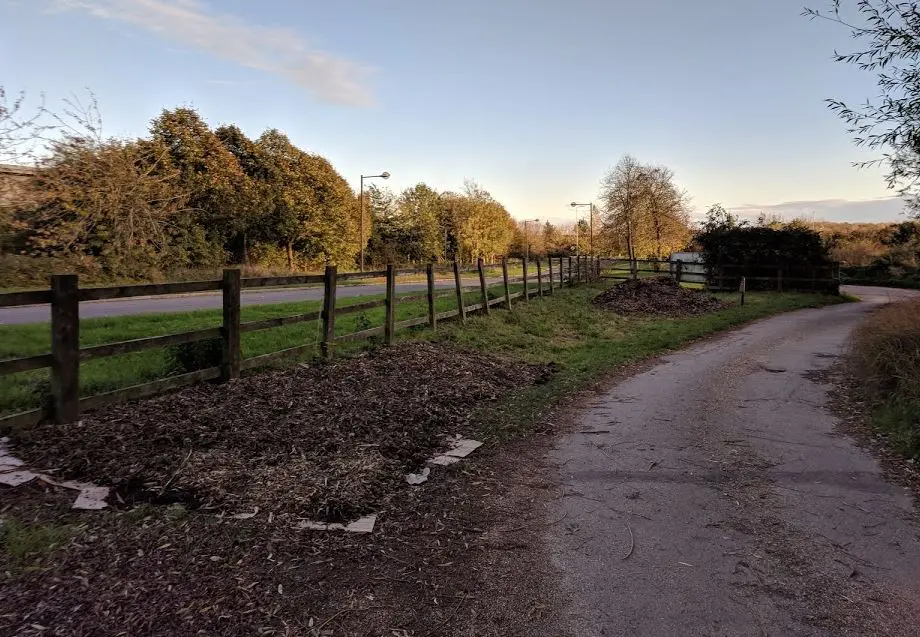
We started by observing the surroundings – following the first principle of permaculture. We walked around the grounds of Westbury Arts Centre to see what was on the site and to gauge the conditions we would be working with for our community garden plot.
The ancient apple orchard, wildflower meadow, large pond and patches of land left to go wild were all seen as encouraging features to complement our permaculture plot.
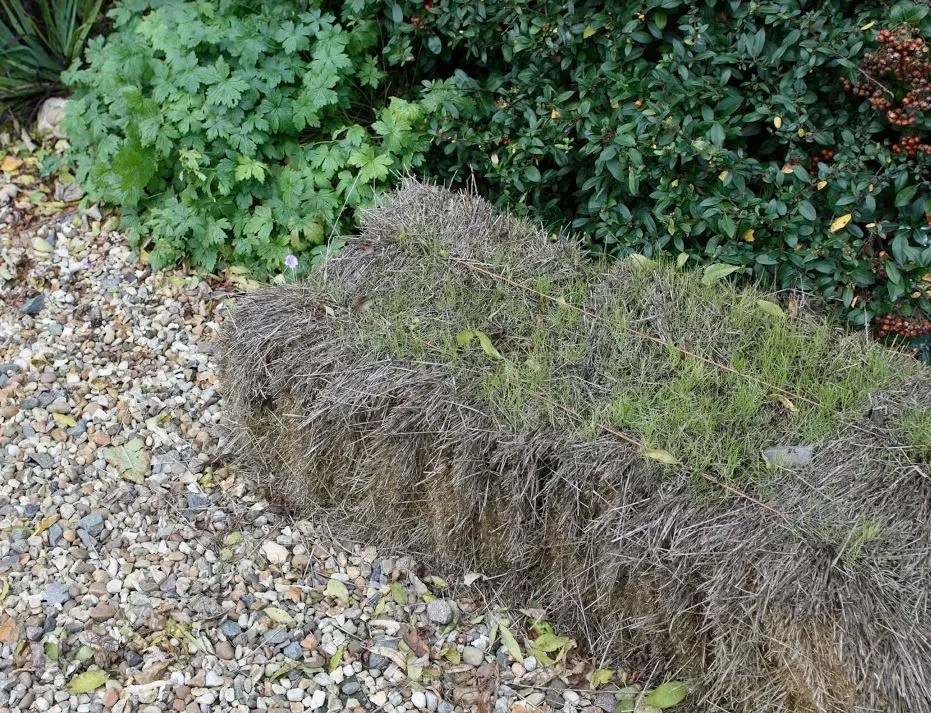
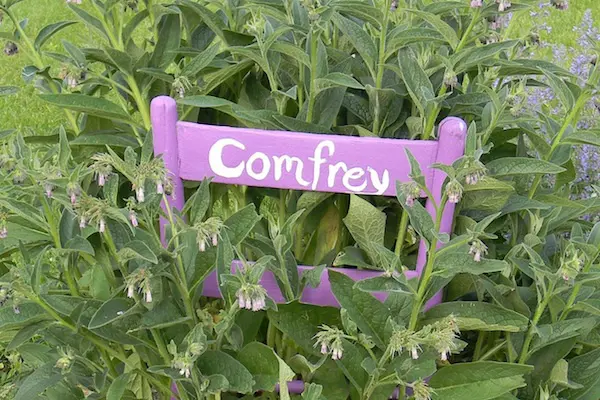
We found plenty of mulch and natural fertilizing material – from hay bales to nettles as well as insect-attracting flowerbeds containing the much-talked-about wonderous comfrey.
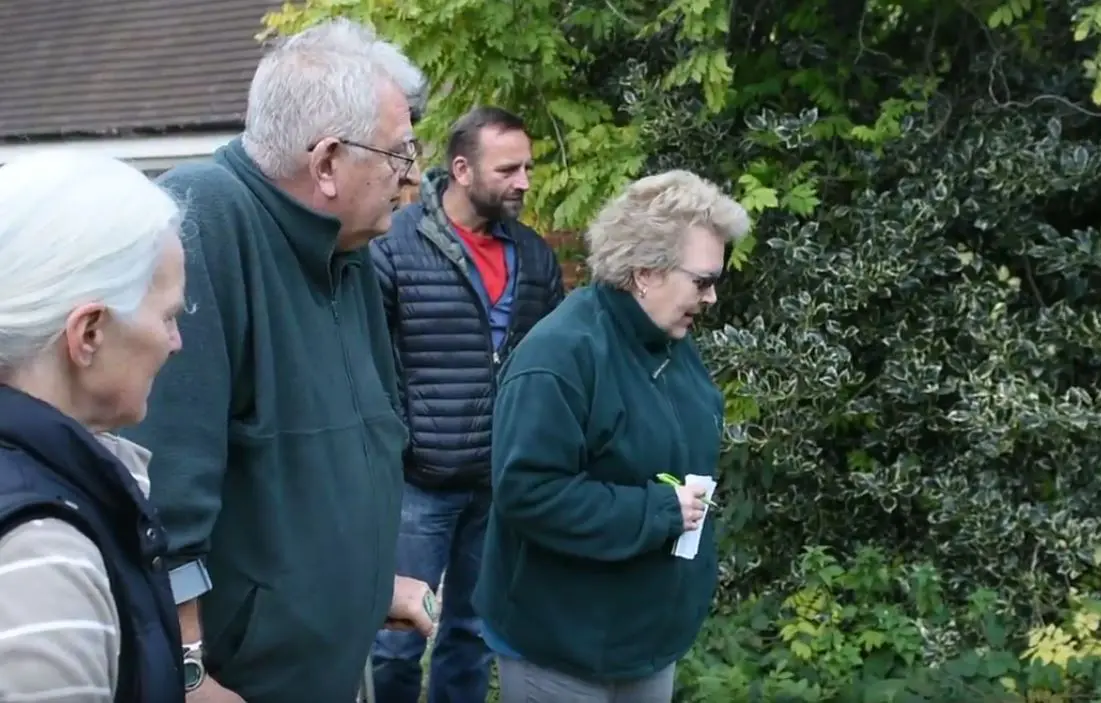
The group split into two. One part of the group split off with James to do some lasagne mulching and the other went over to the barn area with Susan to build DIY compost bins.
Lasagna gardening
Lasagna gardening is a no-dig, no-till organic gardening method that results in rich, fluffy soil with very little work from the gardener. The name “lasagna gardening” has nothing to do with what you’ll be growing in this garden. It refers to the method of building the garden, which is, essentially, adding layers of organic materials that will “cook down” over time, resulting in rich, fluffy soil that will help your plants thrive.
Also known as “sheet composting,” lasagna gardening is great for the environment, because you’re using your yard and kitchen waste and essentially composting it in place to make a new garden.
https://www.thespruce.com/how-to-make-a-lasagna-garden-2539877
Group 1: Making the beds
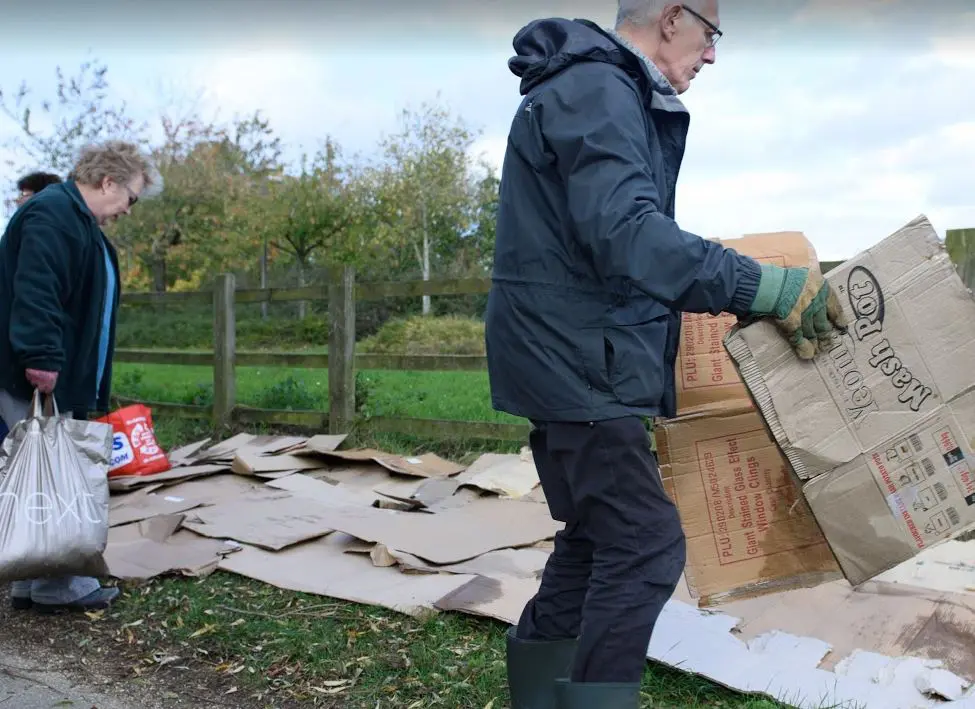
Basically anything you’d put in a compost pile, you can put into your lasagna mulch. We’d already collected the material we needed for our lasagna and had it ready and waiting for our permablitz group. We had the following materials to add to ours:
- Cardboard
- Grass Clippings
- Leaves
- Fruit and Vegetable ScrapsTea leaves and tea bags
- Compost
- Woodchip
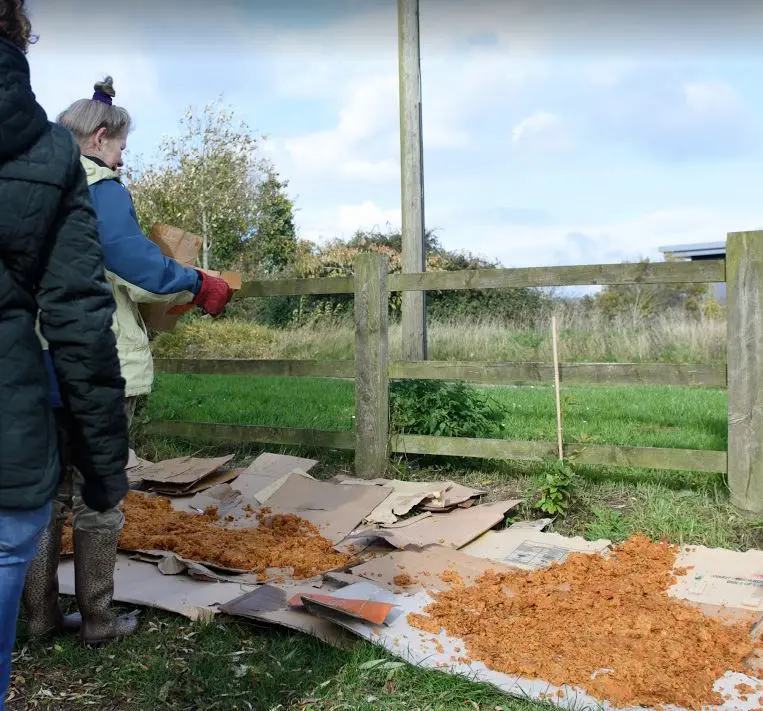
We built up the lasagna layers starting with the cardboard which we’d left out in the rain the day before to get soggy. We then proceeded to add alternate layers of “greens” like garden trimmings and kitchen waste – which was predominantly rotted apples from the recent Apple Day event. This was alternated with our layer of “browns” from rotted-down leaves and finished with a topping of rotting woodchip.
It was easy work – especially with everyone helping.
We didn’t need to remove any weeds or dig up the grass (- Although we did an experiment with one patch to see if picking up the grass will make any difference). We simply put the damp cardboard on top of the grass to wet the layer down and keep everything in place to start the decomposition process.
The idea is that the grass will break down fairly quickly because it’s smothered by the cardboard in addition to all the materials we’ve layered on top.
The bottom layer will provide a dark, moist area to attract earthworms to loosen up the soil as they tunnel through it.

Group 2: DIY compost bin creation
The “Why”?
We’d spent a lot of time learning about the soil-food-web and the importance of healthy soil in the morning session, so we knew that if we were going to grow a good yield of fruit and vegetables in future then we needed compost.
Composting fosters diverse life in soil to support healthy plant growth (producing plants with strong root systems that are less susceptible to damage from pests, weather, and other natural “threats”) and that also help to loosen clay soils and retain water in sandy soils.
Composting is inexpensive, easy to do, and a natural (chemical-free) process that transforms our kitchen and garden waste into a valuable and nutrient rich food for the garden. Definitely a no-brainer for our plot!
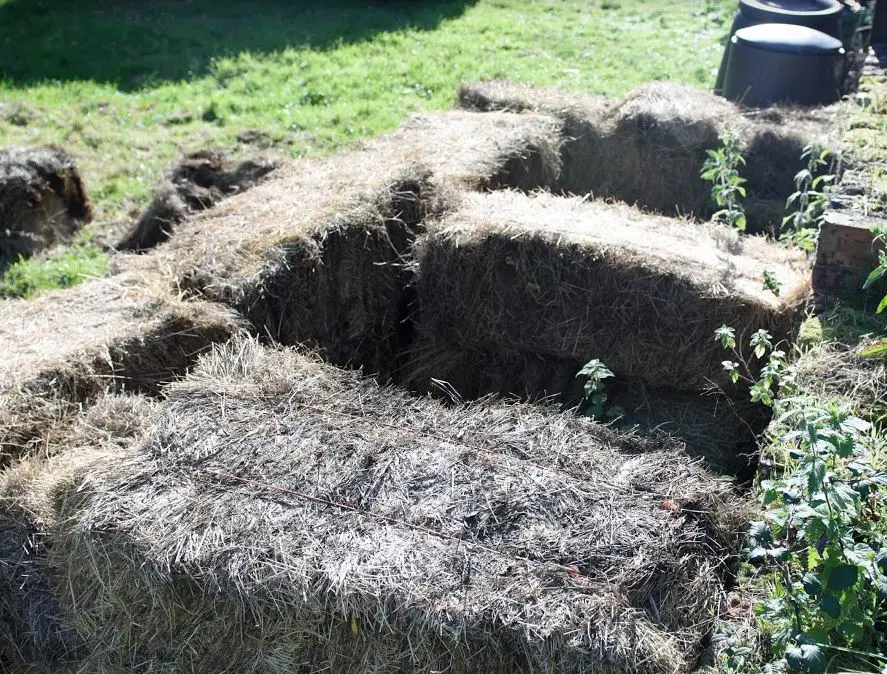
Although there are several ways to start a compost bin or pile, we had found some hay bales around the back of the garden that Susan identified would give us a much larger, easy to construct, bale compost bin.
How We Made Our Hay Bale Compost Bin
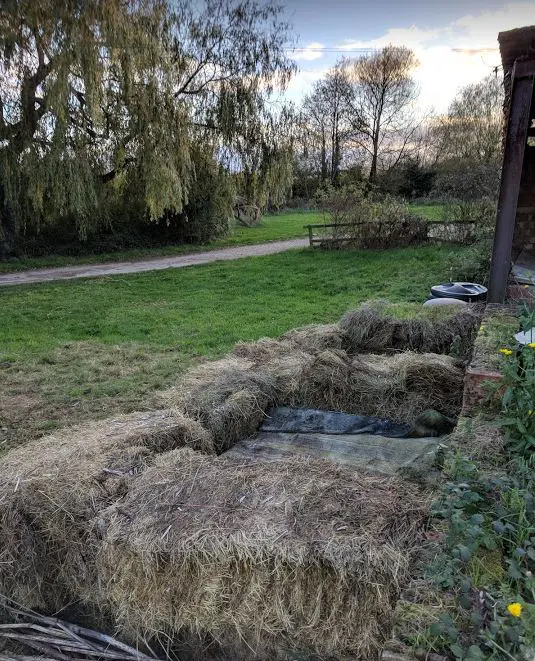
Once the desired size of the bin had been agreed, the group made a box shape from the bales and stacked them two to three bales high.
We constructed the bale bin right on the ground without a bottom of any kind on it; although Susan did say you can place bales on the bottom if you really want to, then build up from there.
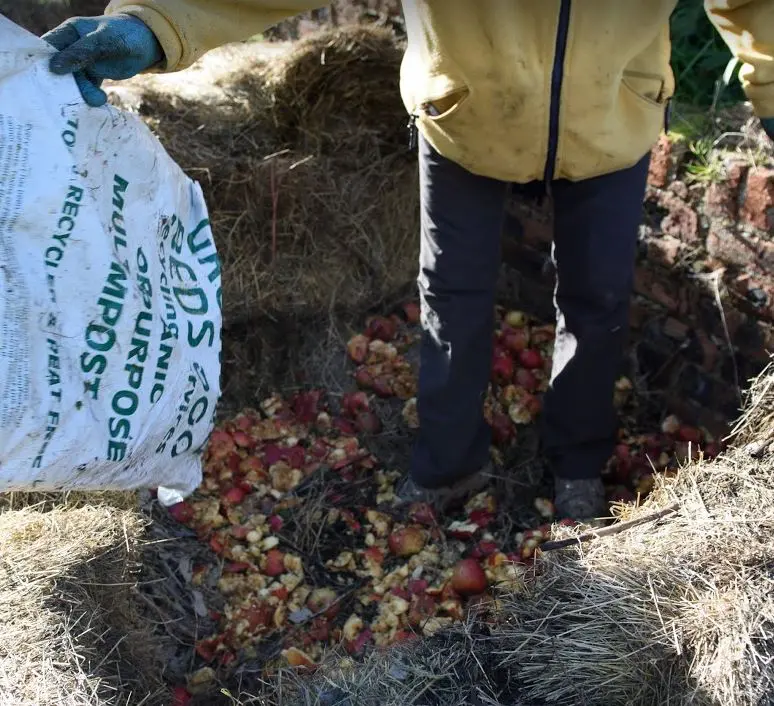
Once the walls were in place we started adding our compost waste in layers of “greens” and “browns” – like the other group was doing with the sheet/ lasagna mulching.
The group collected apples that had dropped in the orchard and put them in bags to trample them down before adding them to the bin. Susan got stuck in stamping, jumping and trampling all the organic material to compress it in the bin for good measure too!

Aside from how easy it was to construct them, there are several advantages we’ll have from composting this way.
1. The bins are made the size and shape we want them to be.
2. The bales help to insulate the bin and maintain the heat and moisture levels which will ultimately give us quicker compost results.
3. The hay bale walls of our bins will decompose. Before they start to sag and look too messy, we’ll replace them with newer ones and incorporate the old ones into our compost and garden sheet mulch as a “brown” (carbon-rich) layer.
What a great day! Big thanks to Susan and James for their guidance.
We achieved so much in just one day. Imagine what we can do after some perma-blitzes!
For more information about No Dig gardening, see this beginner’s guide from Happy DIY Home – https://happydiyhome.com/no-dig-gardening/
