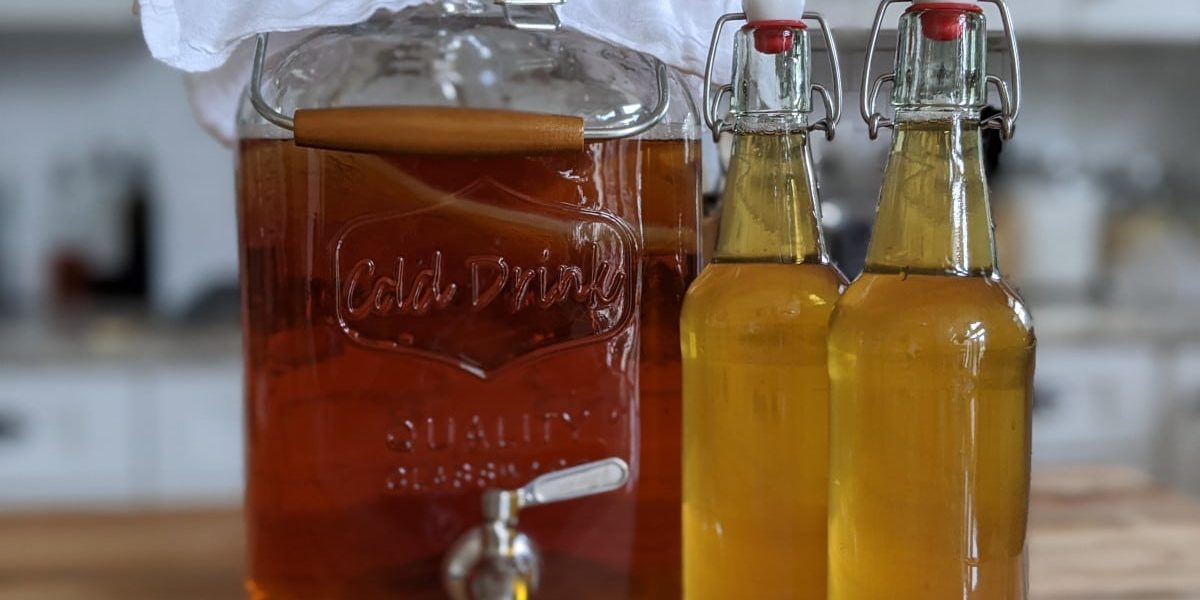
Kombucha is fermented tea. It’s simply sweetened tea brewed with a culture of bacteria and yeast (aka, SCOBY which stands for ‘symbiotic culture of bacteria and yeast’). The result is a tangy, slightly sweet, refreshing drink that’s packed with probiotics and vitamin C that does wonders for your gut.
Introducing: SCOBY
What is a SCOBY?
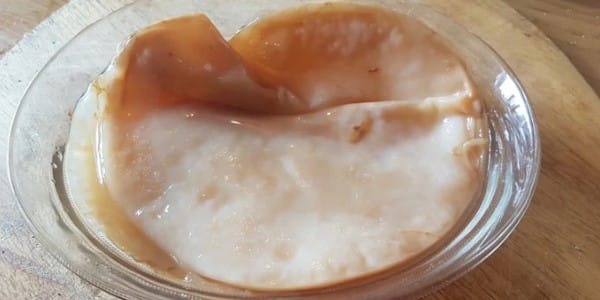
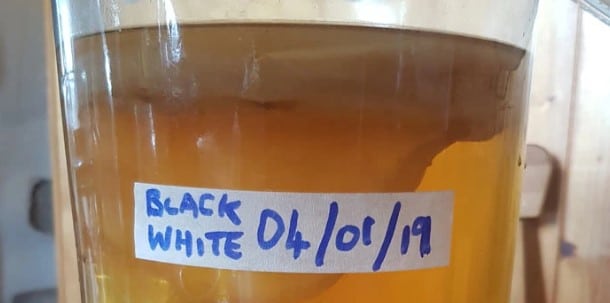
A “SCOBY” (symbiotic culture of bacteria and yeast) is the mother of kombucha, providing a key role in the fermentation process. This disk-shaped alien-like culture looks pretty hideous but is the very essence of the magic of transforming sweet tea into kombucha. It typically floats on top of the tea, protecting the liquid beneath from outside contaminants and providing a loose seal to keep some carbonation in.
Where to get your SCOBY
The most cost-effective way to get a SCOBY is by asking friends or family who brew kombucha, as they often have extras to share. If you don’t know anyone who makes it, you can either attend a kombucha-making class where SCOBYs are provided, purchase one online or even grow your own using a shop bought kombucha drink.
What to look for in your SCOBY
Each SCOBY is unique, shaped by its environment. It harbours a variety of yeasts beyond the common bread and beer yeast, and also contains many species of bacteria that help increase acidity and keep the alcohol content in check.
When you receive your first SCOBY, make sure it comes with some starter liquid, which is crucial for your initial batch. This liquid is rich in bacteria, yeast, and acid, which helps create the ideal environment for your brew.
Supplies and equipment
- A glass container/jar of some description. A wide-mouthed vessel is better as it gives more surface area and leads to a quicker ferment. (I use a 1 gallon (3.7L) mason jar.) Avoid plastic and metal containers.
- Tightly woven breathable cotton or muslin cloth (e.g. coffee filter, paper towel, napkin, cheesecloth) – to be used as a cover
- Rubber band (to secure the cover)
- Large pot or kettle
- Wooden spoon
- A plastic funnel (for bottling)
- Glass bottles – ideally flip-top ones (for storing the finished kombucha)
Ingredients
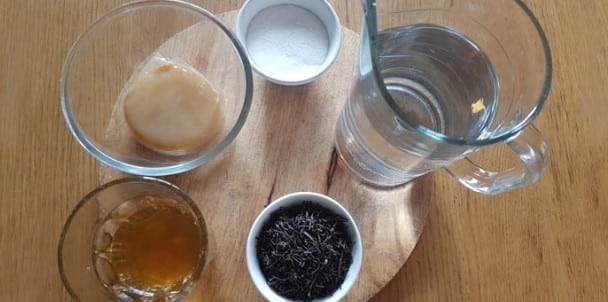
- 1 SCOBY with starter liquid
- Water – ideally filtered. The recommendation is to use de-chlorinated water as chlorine can have a negative effect on the microbes we wish to propagate. Tap water contains chlorine and will not be stripped out by an ordinary water filter so the water should either be boiled and cooled or left in a bowl overnight so the chlorine can dissipate naturally.
- Tea bags – black tea is considered best as it contains the nutrients the SCOBY likes but green tea is popular. You can also do a mix of teas (like half black and half green or white tea). I use organic Clipper breakfast tea.
- Sugar – Ordinary granulated cane sugar is normally used. Less refined sugars will work but can lead to changes in flavour.
- Fruit, ginger, herbs – for flavouring
Step-by-Step Instructions:
THE FIRST FERMENTATION
1. Prepare the Tea Base
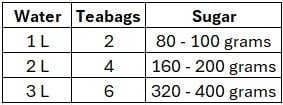
Start by brewing your tea. Bring 1 litre of filtered water to a boil, then remove it from heat. Add 4 tea bags and between 80g – 100g of sugar.
Stir until the sugar dissolves completely.
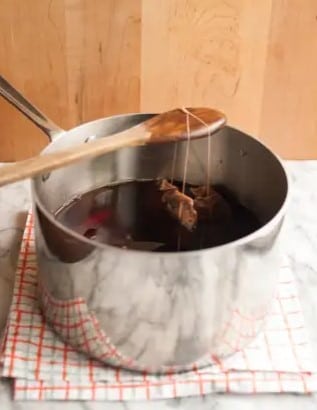
Cover it and remove your tea bags after half an hour.
Leave the tea to cool to room temperature.
2. Add the SCOBY
Wait until the pot’s liquid is cool to touch. Hot tea can kill the beneficial bacteria and yeast.
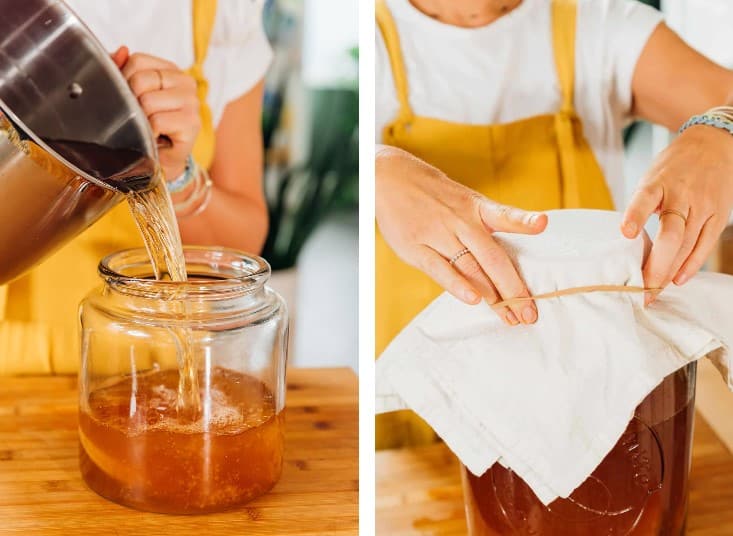
Once the sweet tea has cooled, pour it into a clean glass jar.
Add your SCOBY and about 1-2 cups of the starter liquid that came with it.
3. Cover and Ferment
Cover the jar with your breathable fabric and secure it with a rubber band. This allows air to flow while keeping out dust and insects.
Place the jar in a warm, dark spot away from direct sunlight and from being moved around too much.
Tip: Keep the kombucha out of direct sunlight, as UV light can damage the fermentation process. A kitchen cabinet or pantry is a great spot. Ideal temperatures for fermentation are between 21-27°C.
4. Wait and Taste Test
Allow the kombucha to ferment for 6 – 9 days. Some say to let it go up to 14 days but my experience is that it can get too sour and start to taste vinegary after even 7 days in summer.
Warmer climates will ferment the kombucha faster, so keep an eye on it.
Taste it after about 6 – 7 days being careful not to disturb the SCOBY too much.
If it’s too sweet, let it ferment longer. If it’s too sour, reduce the fermentation time next batch.
SECOND FERMENTATION
If you prefer your kombucha to be really bubbly, this comes from doing a second ferment…
5. Bottle and Flavour (Optional)
Once the kombucha reaches your desired flavour, it’s time to bottle it. Remove the SCOBY and about 1 cup of kombucha to use as starter liquid for your next batch.
Pour the remaining kombucha into glass bottles, leaving about an inch of space at the top.
You can add fruit, ginger, or herbs to flavour the kombucha before sealing the bottles.
Let the bottles sit at room temperature for 1-3 days to develop carbonation, remembering to release air from them every day.
After 3 days, then refrigerate.
6. Store and Enjoy
Once refrigerated, your kombucha is ready to enjoy!
It will keep in the fridge for several weeks, though it may continue to ferment slowly.
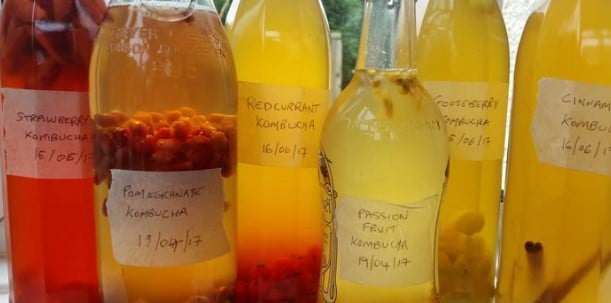
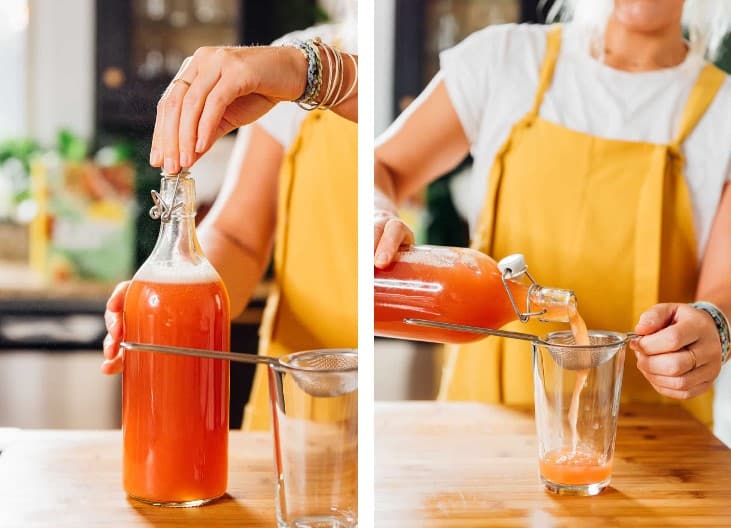
I’ve loved playing around with different flavours, including creating some interesting combinations like apple, mango and ginger, and strawberry and basil. I’ve found that frozen fruit works well but that blended fruit can tend to create a foam and need filtering before drinking.
I’ve had a few explosive disasters by not allowing enough headspace in my bottles for the build up of carbon dioxide and by forgetting to “burp” my bottles every day, so be warned!
A top tip is to put your bottles in the fridge to halt the conditioning process (i.e. when the yeast converts the sugar from the fruit into carbon dioxide) to avoid explosions. By storing your finished booch in the fridge you also stop the bacteria from creating more acid, so it’s definitely worth remembering to make space in your fridge for the final batch too.


